I made these T-shirts this morning for Callie. Our boys are camping, so we had to do some fun "girlie" things. I used puff paint and the end of a pencil, tinker toy, and paint brush for the necklace T-shirt, and just dipped and dotted. For the other t-shirt, it's just iron ons and ric rac. Quick, easy, and fun.
Showing posts with label craft. Show all posts
Friday, July 30, 2010
Wednesday, July 7, 2010
Lunchbags, Placemats, Kleenex Pouches
I was able to go to Camileee's for the weekend and have a sewing fest. It was so much fun. We made some cute stuff. The first project we did was lunchboxes for Madison and Callie. We got the pattern from here. We did make a few changes, like not using a pillowcase like the pattern says to use, but regular fabric and not using the iron on vinyl. We've heard that stuff doesn't wash up well. We wanted these to be machine washable. This was our first time with appliques, and we know how to do it better next time. We will use interfacing on the back so it doesn't pucker.
To square off the corners, we put the two bottoms of the bags together and sewed across the squared part and did them together, instead of squaring separately and then hand sewing the two together. It was easier this way.
This flower is from a tutorial we found here. We did add some purple netting stuff in between each layer. And we just used a hair alligator clip thing on the back to clip it to the handle, so it can be removed to wash.

Next time we aren't going to use twill tape on the casing for the strings. It was a mess to work with. It would be just as good and easier to just hem it under with a rolled em.

We used fusible fleece on the back side of the lining. It was fun. I defintely want to use this stuff again on something. And instead of hand sewing the lining to the outside of the bag, we topstitched with our machines.
This pattern came with a placemat tutorial. How cute! They won't have to put their lunches on the yucky cafeteria tables.


And what little girl doesn't need her own matching Kleenex pouch for her backpack? Here's the tutorial for that.
Next time we aren't going to use twill tape on the casing for the strings. It was a mess to work with. It would be just as good and easier to just hem it under with a rolled em.
We used fusible fleece on the back side of the lining. It was fun. I defintely want to use this stuff again on something. And instead of hand sewing the lining to the outside of the bag, we topstitched with our machines.
And what little girl doesn't need her own matching Kleenex pouch for her backpack? Here's the tutorial for that.
Tuesday, June 29, 2010
Child Leash
I've seen lots of "mommy handles" on craft blogs lately. I'm sure they work great if you have a sweet little girlie that likes to mind and never tries to run away. But my BOYS are different. I need something more like a LEASH. So I cut a strip of material 5 inches wide and made a belt and a handle. I ironed the strips in half and then the edges inward towards the fold, then sewed down both sides. On the belt I put a D-ring on one end and a hook-clippie thing I got in the jewlry section at JoAnn's. Then on the handle I put another clippie thing on one end and a wrist loop on the other. We'll see how this works.
Of course he has to model it on the kitchen counter since it's his favorite spot in the house.
Tuesday, June 15, 2010
Monday, May 31, 2010
Custom Curtains and Quote
I made myself some curtains inspired by the CUTEST play kitchen built by Crafting Chicks featured by Knock-Off Wood (one of my new favorite websites...someday I'll have the right tools). You'll find the directions there (obviously you have to tailor the measurements to your own windows).
Also, one of the cabinets in my house was missing a cabinet door and I tried and tried to figure out a way to make it look nicer.
You can check out a picture of the cabinet before (and Jereld steam mopping) here.
Doesn't it look much nicer now?????

Since I'm redoing my kitchen, I needed to start decorating the top of the cabinets. It's a work in progress, but here's one piece that's finished:
These are cardboard letters that I bought at Hobby Lobby and spray painted brown. I just selected some scrapbook paper and Mod Podged scrapbook paper onto the letters.
Saturday, May 29, 2010
Letter Dice
This is what we gave Lucas' teacher, Ms. Heather, at the end of school.
I bought 9 - 1 inch dice (they came in packs of 3). If they had not been out of 1 1/4 inch, I probably would have bought them. The big 2 inch ones might be kind of fun too. I only ended up using 7 of them. I also bought some rub on letters in the craft section. I'm sure stickers would work too, but I wanted something a little more permanent. I painted all the dice then sanded all sides and the edges so they were smooth. Then I rubbed the letters on to each dice. I used all the letters once and then added more of the more common letters. I got the mini paint can at Robert's too. It's kind of fun because you can use the can as a shaker to roll them. If you plan to use this to teach letters than you might want to include Q & Z like I did. If you plan to use it for words/reading, then leave them out.
My kids had a blast with them until we had to deliver the gift!
Tuesday, May 18, 2010
Teachers End of Year Gifts
This year for our teachers, the kids gave them a bottle of the lotion that I made. This time I used Vanilla Oatmeal baby lotion so the smell would be more of an adult smell and not a baby smell. It turned out good. This is what the card said:
I’m so glad I was scent to your class this year.
Your knowledge rubbed off on me in many ways.
You’re the cream of the crop when it comes to teachers.
I appreciate your helpful hands.
Thank you for being soft and kind.
Even though there were rough spots, you soothed the
callouses and made this year smooth for me.
Just as lotion moisturizes, nourishes and revitalizes, you
helped me grow with your tender loving care.
Love,
(have the kid sign their name)
I’m so glad I was scent to your class this year.
Your knowledge rubbed off on me in many ways.
You’re the cream of the crop when it comes to teachers.
I appreciate your helpful hands.
Thank you for being soft and kind.
Even though there were rough spots, you soothed the
callouses and made this year smooth for me.
Just as lotion moisturizes, nourishes and revitalizes, you
helped me grow with your tender loving care.
Love,
(have the kid sign their name)
Thursday, May 13, 2010
Weighted Pincushion Organizer
I have wanted one of these ever since I saw them at the Sierra Vista quilt show. The ones they were selling were different, but I like this one better. I found the tutorial to make this at www.sewmamasew.com . This is actually for my mom for Mother's Day so the next one will be mine! Here are the changes that I made...
I thought the original pincushion looked too long and skinny so I shortened it by about 2 inches. I also had to make the weight bag smaller to match the shorter pincushion.
I used flannel instead of felt in the middle of the bag.
I am going to add something later today--I am going to sew a square of that rubber non-adhesive shelf liner to the bottom of this to keep it from slipping. My friend Roxanne has one of these and she suggested the idea to keep it from sliding around.
I think I will make one other change on my next one...I will add fusible interfacing to the scrap bag to make it a little bit more stiff.
If anyone wants the dimensions for the pincushion pieces that I shortened, leave a comment and I will post them.

I thought the original pincushion looked too long and skinny so I shortened it by about 2 inches. I also had to make the weight bag smaller to match the shorter pincushion.
I used flannel instead of felt in the middle of the bag.
I am going to add something later today--I am going to sew a square of that rubber non-adhesive shelf liner to the bottom of this to keep it from slipping. My friend Roxanne has one of these and she suggested the idea to keep it from sliding around.
I think I will make one other change on my next one...I will add fusible interfacing to the scrap bag to make it a little bit more stiff.
If anyone wants the dimensions for the pincushion pieces that I shortened, leave a comment and I will post them.

Wednesday, May 12, 2010
More Aprons
Amy inspired me to start making aprons because hers were so cute! Here is my first apron which I am giving to my mother-in-law for Mother's Day. I decided to learn how to make ribbon flowers to dress it up a little bit. I watched a tutorial on youtube. They are simple and fun to make! They would make cute hairbows. I hand sewed the ends of the ribbon together so they wouldn't fray.


These aprons are super easy and are nice because they are fully lined. I am making a different project tonight so more pictures to come!

Madison decided she wanted to be the apron model.

Here is a headless picture of me...I had a sewing day so I didn't do my hair or makeup!
These aprons are super easy and are nice because they are fully lined. I am making a different project tonight so more pictures to come!Tuesday, May 11, 2010
Flour Sack Towels
After I finished the apron yesterday, I decided to make some of these cute towels that I got from the Brown Paper Packages blog. They were fun to make, easy, and turned out so cute. You just use scraps of material and cut a strip, press edges under like in the picture, and sew to the bottom of the towel. Add a ribbon or some ric rac to the bottom, or anywhere, and you're done.
I only got to make 3 of the 10 towels I bought. After the first three were done, my doorbell rang (it was the Census lady), the baby was fussing and ready to be fed, the house was TRASHED, and the other four were whining that they were hungry. Then the husband called and said he was on his way home from work. I figured I better save the other 7 for another day. Reluctantly I put the sewing away for later. I can't wait to get it out again and make the rest. These are so fun.
Monday, May 10, 2010
Dry Erase Board
Ever since Shara sent me this link awhile back, I've been wanting to make one. Especially for our bathroom since my husband finds it fun to make notes/lists/schedules all over the bathroom mirror! I had this 11x14 frame that needed to be used. If I was doing it for the kitchen, I think I'd want it bigger, but for this space it's perfect. I stopped at our adorable Gracie Lou's today and picked up the red fabric... decisions are not easy in the fabric store!! Unfortunately my glue gun decided today it would die. And since I'm an impatient person, I used tape to hold the fabric around the board. Worked like a charm.
I love how it turned out! Pretty simple, pretty cheap (especially if you have a frame already on hand)!
More Aprons
Saturday, May 8, 2010
Kids Apron
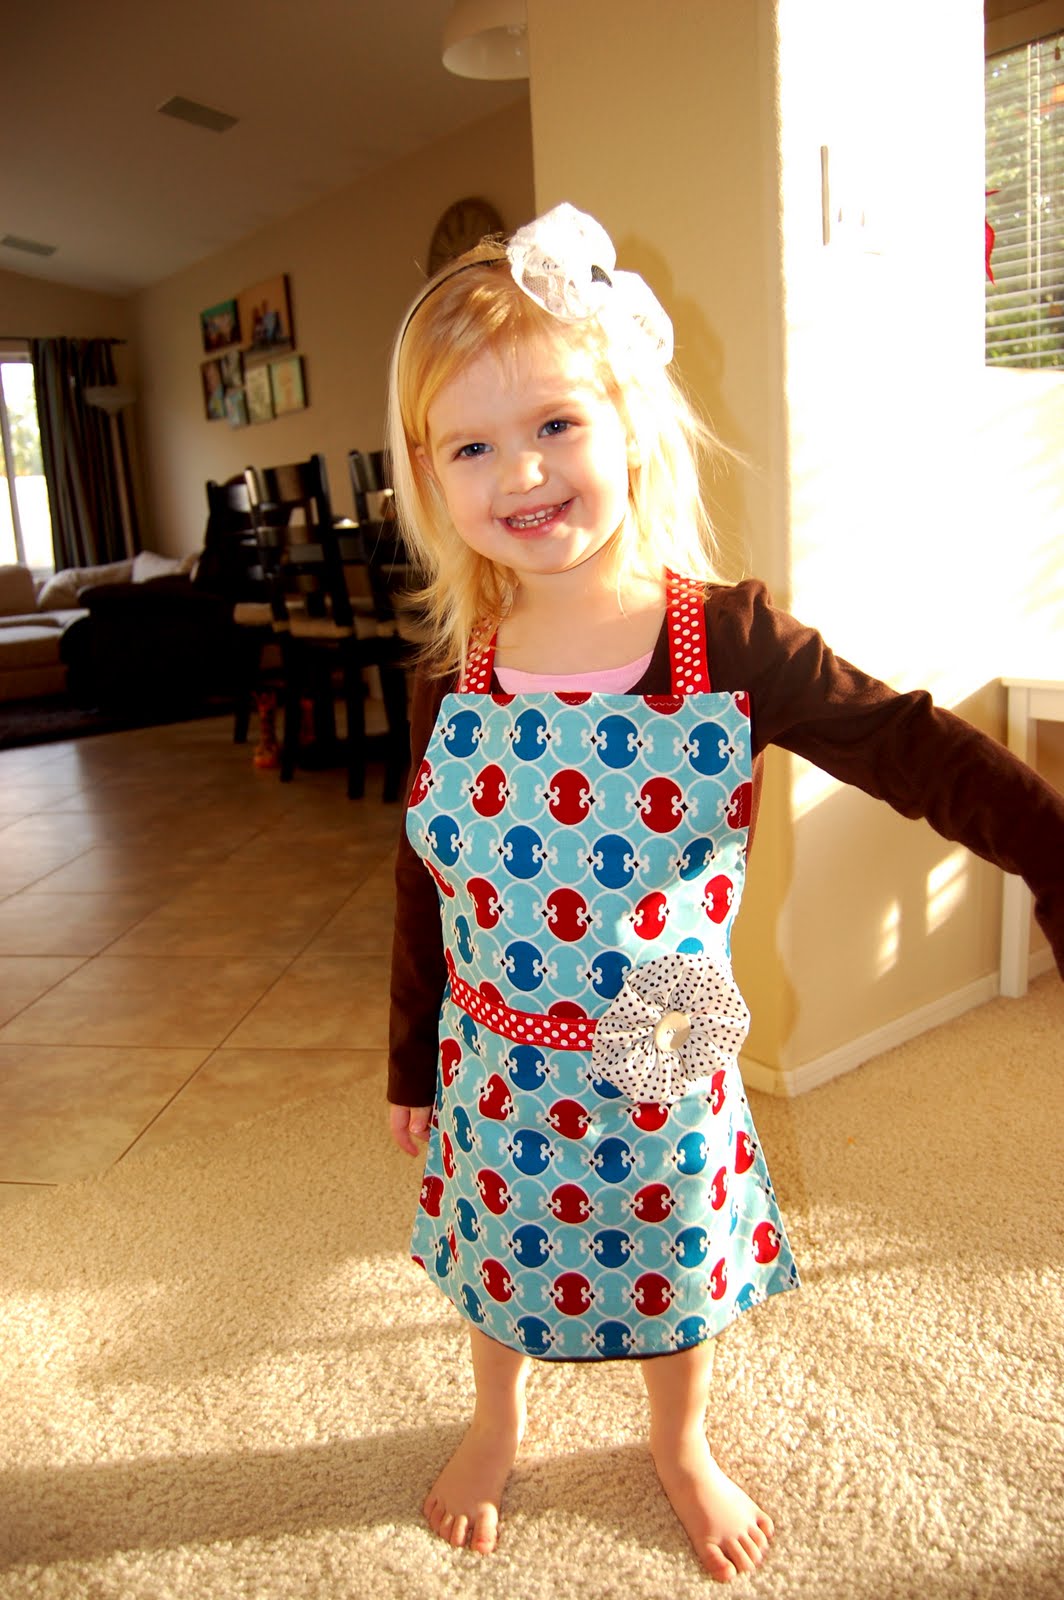
Back in February we made this apron for Abby's friend's birthday. She had a retro red play kitchen and I thought this apron would be fun to play kitchen in. Katie is actually the designer of the apron, she made then first for each of us (so cute!), then she made ones for Reese and Abby. I just took the apron she made Abby and drew a pattern from that. Sewed it all up and then put ribbon as the waist band and neck ties with some fray check. For this apron I added a yo-yo flower for decor. I thought it made it quite cute and was tempted to keep it for a bow in Abby's hair. I made some really cute ones for my SIL and MIL, but I don't have pictures of them!
If you don't know how to make a yo-yo. Here is a good tutorial. These are super quick, really cute, and inexpensive little gifts to give!
Friday, May 7, 2010
Cake Stand
Well, here's my first crafty post. It is the perfect craft if you like simple crafts - grab a couple of items at a thrift store (I found a candlestick and plate that went together pretty well) and glue them together! I first saw this idea from a friend, and then on Your Home Based Mom. The glue I used was E6000. There is a tutorial at Your Home Based Mom, so head over there for more ideas and instructions.
Wednesday, May 5, 2010
Mother's Day Lotion
I got this "recipe" from 1 Talented Family blog . It looked fun, so I tried it. She says it's the best lotion and promised that everyone will love it. It was easy to make and smells good.
This is directly from her blog:
"The ingredients are: a large 27 ounce bottle of Baby Lotion (I use Wal-Mart brand, it is cheaper, smells sooooo yummy and is just as good). One 2.5 oz tube of Vaseline (again, I used Wal-Mart) and 2 bottles of the Vitamin E Cream (Fruit of the Earth brand). The Vitamin E cream is $3.67 for 2 bottles and that is how it is sold."
Go to their blog to see a picture of the ingredients.
You have to cut open the lotion bottle to get it all out. There's actually quite a bit left after squeezing it all out.
I actually ended up using a heaping 1/4 cup of vaseline from my tub of it since when I went to make it I couldn't find the tube of it that I had bought. I found it outside all squirted out and dirty. Thank you Jay.
I mixed it all with my beaters. It was fun. Then I scooped it all into a gallon size ziploc bag with a rubber spatula and cut off the tip of one corner and squirted it into each container. This worked really well.
I got the containers from Walmart (of course-where else here in Thatcher?). The small ones are from the section with all the travel size stuff. The pump is from the housewares department with the bathroom items. It turned out pretty, I think.
I used some on Drake this morning after his bath. He turned out so soft and smells so good!
Tuesday, May 4, 2010
Crafting
Hey Cousins (and aunts):
Marsha and I were wondering how everyone feels about turning this blog into cookin' and craftin'. We know some of you have made some cute stuff:
Shara's onesies that she gave baby Jack
Katie's wreath for Valentine's Day
Hooter Hiders
And lots more
How does everyone feel about this?
Marsha and I were wondering how everyone feels about turning this blog into cookin' and craftin'. We know some of you have made some cute stuff:
Shara's onesies that she gave baby Jack
Katie's wreath for Valentine's Day
Hooter Hiders
And lots more
How does everyone feel about this?
Subscribe to:
Posts (Atom)