Tuesday, May 24, 2011

Strawberry Banana Streusel Muffins


My husband likes to wake up with just enough (and I mean barely enough) time to get ready for work before heading out the door.  Because of this, he loves it when I have muffins in the freezer for him to just pop in the microwave before leaving.  He also LOVES strawberries, and it seems we often have bananas that are too ripe for eating.  Thus, these muffins were born.  I have also added pecans to the streusel topping which is DELIGHTFUL! You could also use blueberries or raspberries or blackberries or whatever, and I'm sure they would be good! 

Banana Streusel Muffins

4 C. flour
2 C. sugar
2 tsp. baking powder
1 tsp. salt
1 tsp. baking soda
1/2 tsp. ground cinnamon
4 eggs
12 oz. vanilla or strawberry yogurt (I used half and half for the muffins above)
1/2 C. butter (or coconut oil...YUM!)
4 ripe bananas, mashed (2 C.)
2 tsp. vanilla
2 C. chopped strawberries (can be fresh, but strawberries that have been frozen and then thawed also work great)


Streusel:

3/4 C. sugar
1/2 tsp. ground cinnamon
1/2 C. flour
2 Tbsp. butter

In a large bowl combine dry ingredients.  In a small bowl, beat eggs, yogurt, butter, bananas, and vanilla.  Mix wet ingredients in with dry ingredients until moistened.  Add strawberries last and gently stir to evenly distribute strawberry chunks.  Fill greased or paper-lined muffin cups 3/4 full.

Combine streusel ingredients (cut in butter).  Sprinkle over muffins (pressing it gently into the muffins helps it stay on when baking).

Bake at 375 degrees for 20 to 25 minutes.  (Makes about 30 muffins)

Saturday, May 14, 2011

Coconut Chicken Salad w/ Warm Honey-Mustard Vinaigrette

I tried a recipe from Skinny Taste!  It was SO GOOD! The problem with DELICIOUS low-fat food is that you are sooo tempted to eat more than a serving (even though you're full). 

I didn't get a picture of mine, but here is a picture from the website:


And you can find the recipe HERE!

Monday, April 18, 2011

Chocolate Cupcakes

This post is to help Allison not feel so lonely on this blog! I've made these cupcakes from The Sisters Cafe twice now. Once with the truffles inside a few weeks back, and once with Hershey's Kisses inside for my little guy's birthday. Here's my review:


  • The cake: it's a doctored up cake-mix and it turns out really good and moist. I think I'll have to do this to cake mixes from now on.

  • The frosting: I prefer chocolate pudding and cool whip mixed together, but that's because I'm not a frosting person.

  • Truffles or Hershey's Kisses inside?: they were both delicious. However, the truffles were probably a little better since they were creamier and meltier in your mouth. The Hershey's Kisses were still fun and way cheaper. My kids thought it was so fun to have one inside. Plus you can buy a whole bag of them and eat them while you are baking! With the truffles, you have to save them all for the cupcakes. The truffles melted into a thin, horizontal layer toward the bottom of the cupcake. The Kisses stayed in a clump in the middle of the cupcake.

Saturday, April 16, 2011

Hungry-Girl Nacho-rific Chicken!

Judging from the fact that I've posted most of the recent posts about food, I would almost say that I am the only one cooking, BUT I KNOW THAT'S NOT TRUE!

COUSINS, have you fallen of the face of the earth????  I want to see what you're making!

Here's what I made last night:


You can find a link to the recipe HERE!

Or, here's an image of the recipe directly from the site!


Wednesday, April 6, 2011

Thin Mints--Knock Off!

Ok...so the story is:

I wanted to buy Thin Mints and Samoas from the Girl Scouts, but when I happened to see some girl scouts selling cookies, I only had $4 cash with me...which will only buy 1 solitary, sad, lonely box. And, I love thin mints, but I had a recipe. So, Samoas won.

But, the good news is that the Thin Mints were delicious homemade!

Jereld suggested the parsley twig garnish...don't laugh.


Girl Scout Thin Mints

Chocolate Cookie Wafers

1 18.25-ounce package Betty Crocker chocolate fudge cake mix
3 Tbsp. shortening, melted
1/2 C. cake flour, measured then sifted
1 egg
3 Tbsp. water
nonstick cooking spray

Coating

3 12-ounce bags semisweet chocolate chips
3/4 tsp. peppermint extract
6 Tbsp. shortening

1) Combine the wafer ingredients (except the water) in a large bowl. Add the water a little bit at a time until a dough forms (the dough will seem very thick--this will give the wafers a crispy texture once baked). Cover with plastic wrap and put in the fridge for 2 hours.

2) On a lightly floured surface, roll out a portion of the dough to 1/4 inch to 1/8 inch thickness. Cut out wafers with a spice jar lid (like McCormick spices or whatever you have).  Put wafers on a lightly greased cookie sheet (they can be pretty close together--they don't spread out). Bake at 350 degrees for 8 to 10 minutes. Cool completely before moving on to the next step.

3) Combine chocolate chips, peppermint extract, and shortening in a microwave safe bowl. Heat on 50% power for 2 minutes, stir.  Repeat heating and stirring until chocolate is melted and is a smooth consistency.

5) Dip each wafer in chocolate. Let the excess chocolate run off into the bowl (tapping your fork on the side of the bowl helps).  Place dipped wafers on a cookie sheet lined with wax paper. Refrigerate until ready to eat.

YUM!

Friday, March 25, 2011

Nativity Craft


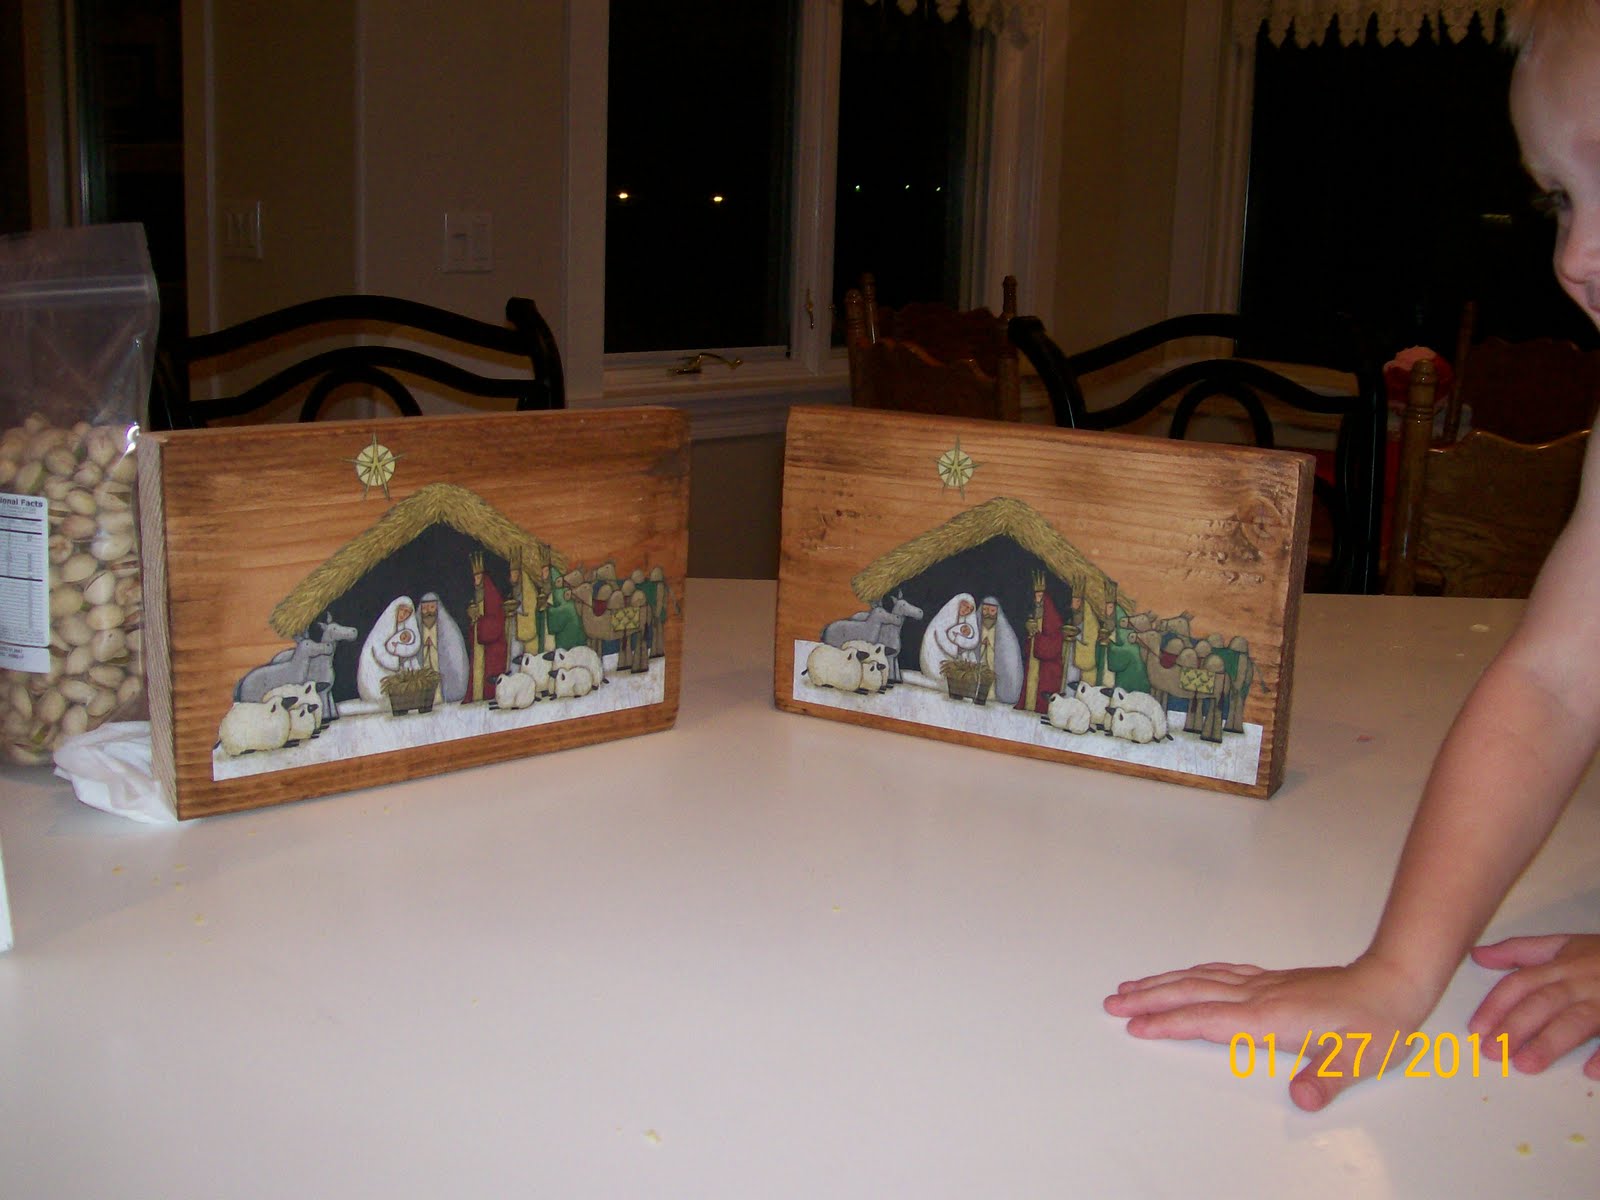
Marsha, Camilee and my Mom came last weekend and we whipped out a ton of nativities. It was so fun. Steve had the boards (8X2's) all cut for us in 12" lengths (55 of them to be exact-I can't do anything in small numbers). We had to sand, stain, cut paper, and mod podge. The paper was a scrapbook nativity scene that I found at Michaels. I ordered most of them online, though. These will be our Christmas gifts this year. I love how they turned out.
(Doesn't Cam look so cute in that apron?)

Sunday, March 20, 2011

Curious George Birthday


My friend taught me how to decorate cakes using a coloring page and an overhead transparancy. I put the coloring page under the transparancy and decorated on top. Then I froze the frosting. Then I turned it onto the cake and peeled off the transparancy. I loved how it turned out.